
Stairway Transformation
So, this year my New Year’s resolution is to finish any project I start. I struggle with this constantly, because I always have my next project in mind and just can’t wait to get to move on to the next one. My stairway would be a victim of this crime. I worked so hard on this stairway for so long and if you see it in the all my photos you would never know that it’s really not finished. Now that is a skill, if I say so myself! So, it’s the New Year and that means it’s time to get to work finishing all my unfinished projects.
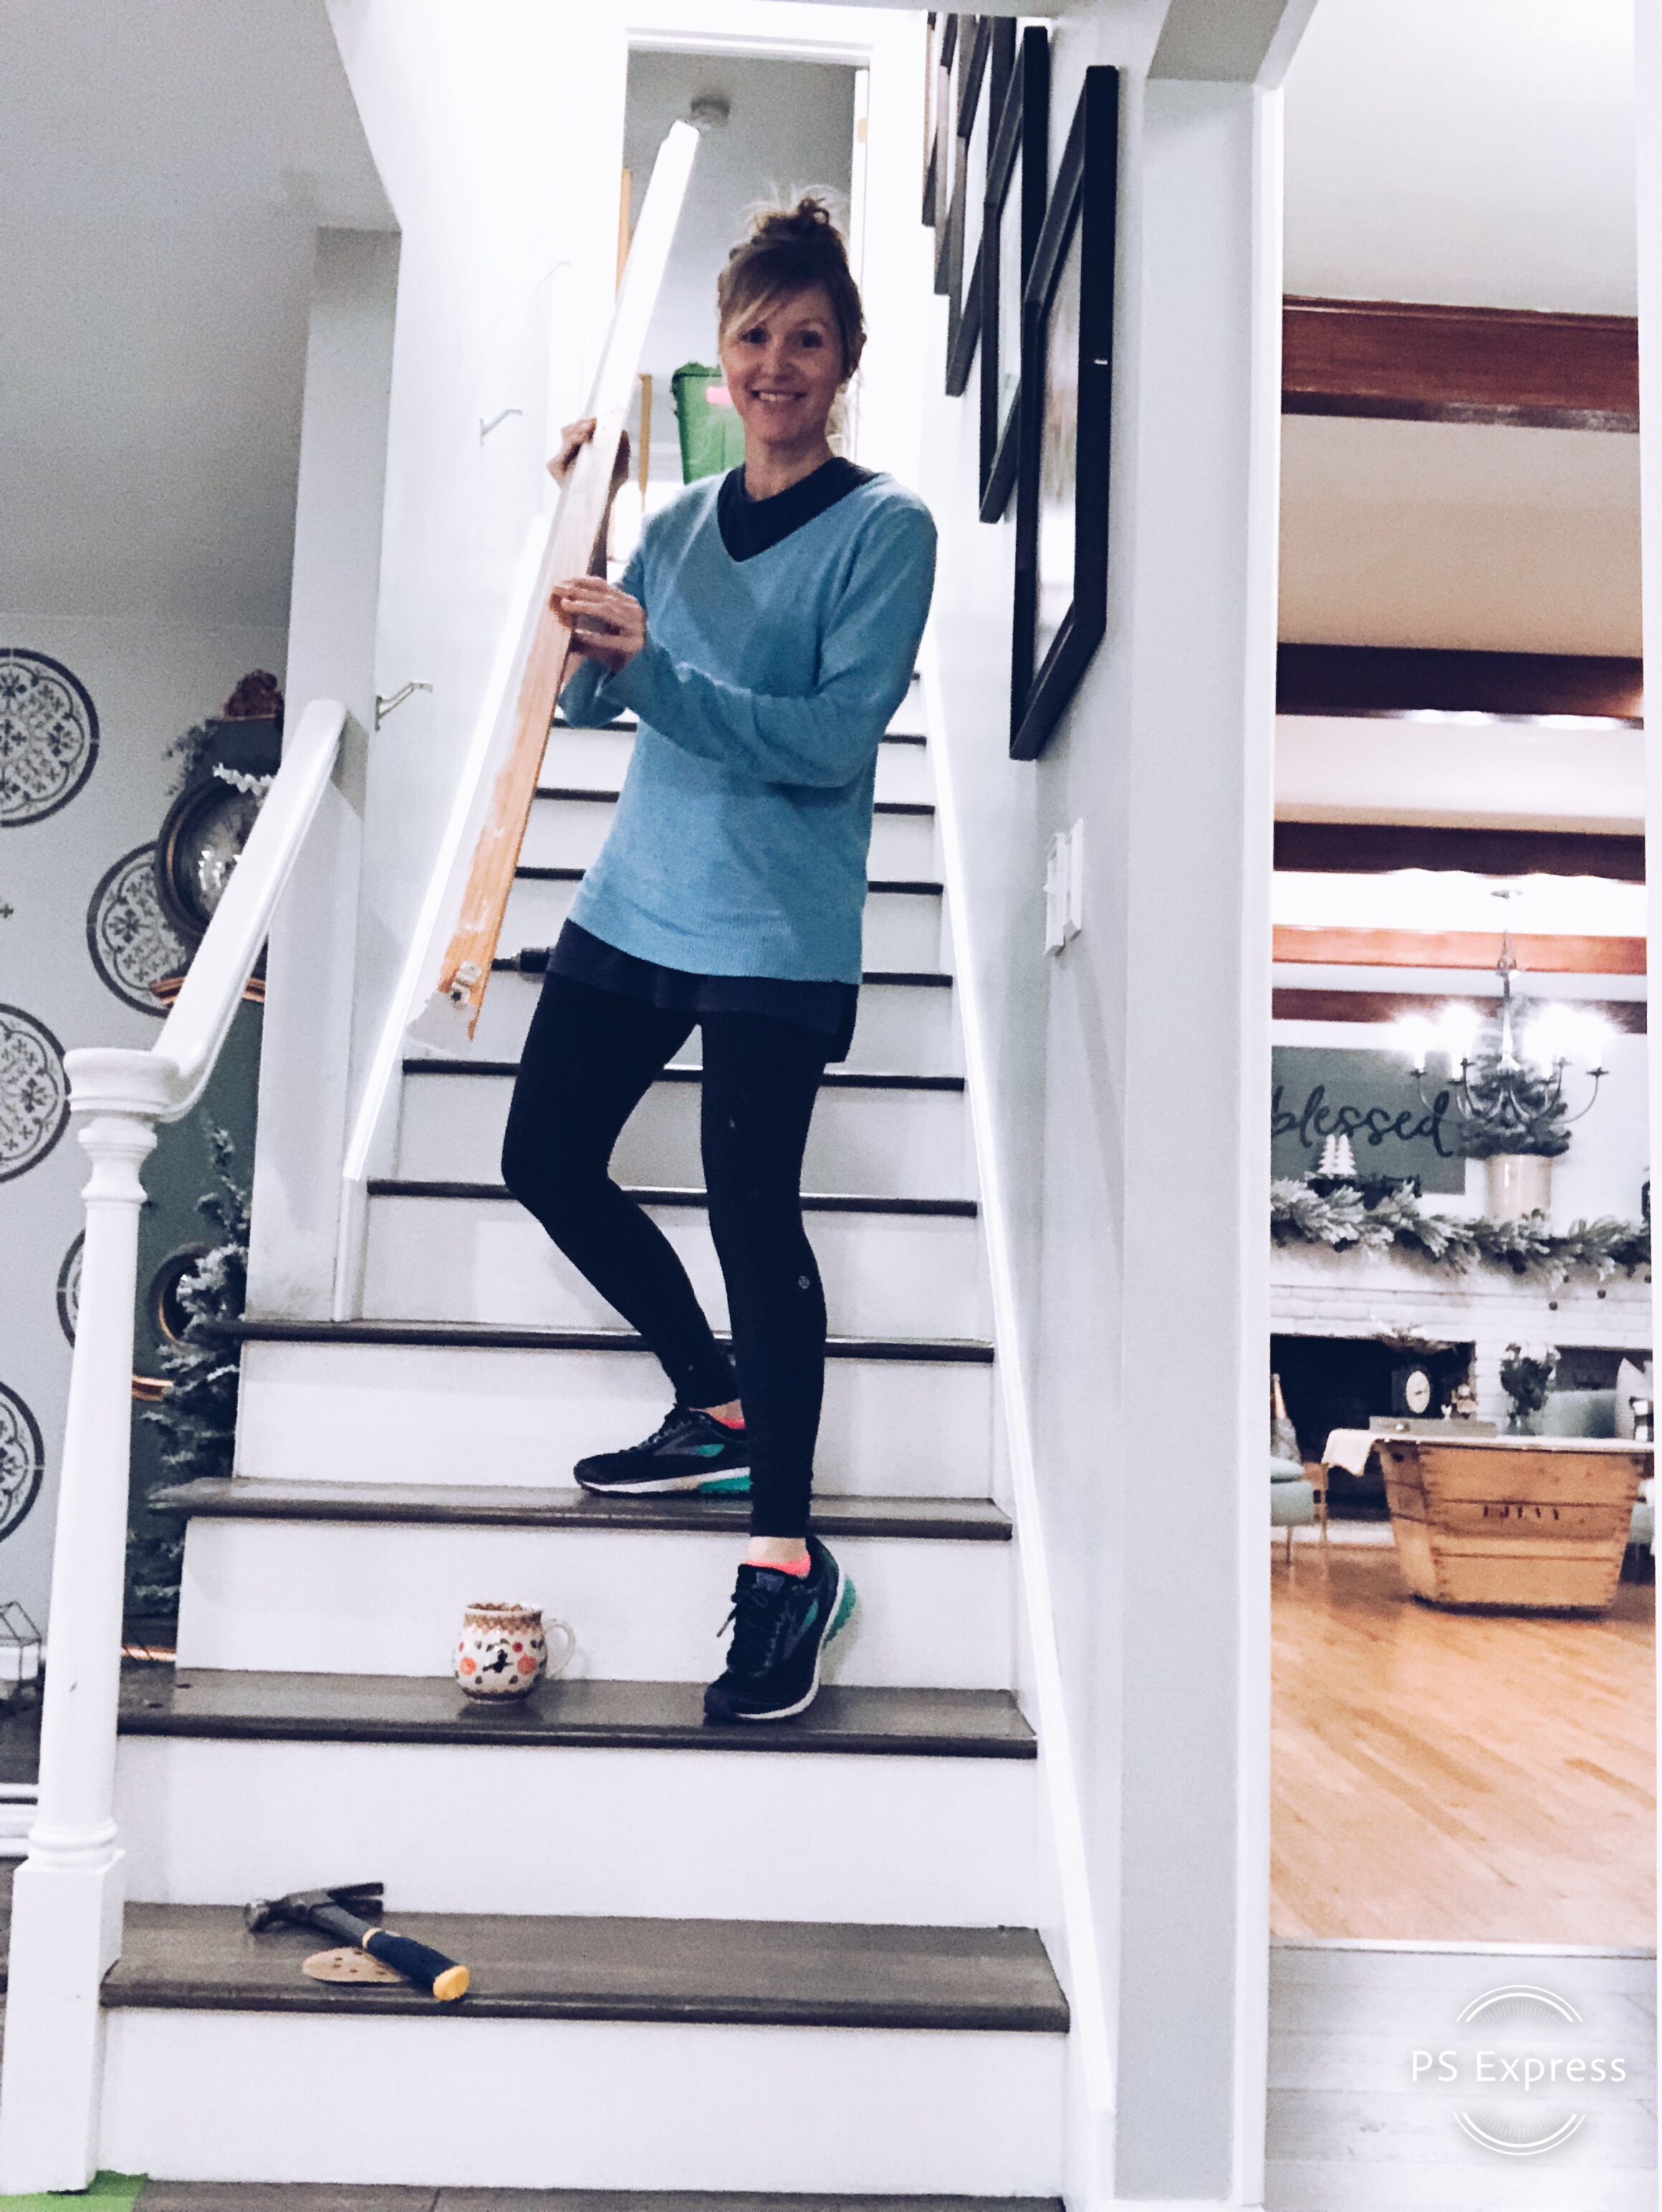
The last step left for the stairway was the banister and beams. If you look at the bottom picture, I primed them along time ago, before I even started sanding the steps. It was originally a yellow color…Yikes!! Let’s get this bad boy all finished!!!
Make sure to scroll all the way to the bottom to see my easy go-to Tutorial on how to stain the banister and of course to see the Completely Finished Product!! 😉

Here’s a little wrap up of the Stairway Transformation…
These steps have already gone through a major transformation and I couldn’t be happier with the way they have come out so far. They started out covered in shaggy brown carpet that was beyond gross, so naturally that was the first to go when we moved in. I don’t even have a good before picture, they were so awful I never thought I would have ever wanted to see them again. You live you learn, now I take pictures of everything. This is the closest picture I could find from the very beginning.
…Before…

The first step was remove all of the carpet, nails and tack boards. I have never seen so many nails, this is by far the worst part of removing carpet. The nails are so tedious, but it is absolutely necessary for them to be ALL gone. After the carpet was removed and disposed of it was time to get sanding. Also, another tedious job!!! As you can already tell this was a pure labor of love. These steps had tons of paint on them, from someone painting the molding and not caring that they were painting the stair tread because it was going to be covered by carpet. Awesome for them…not so much for me!! 
I started off sanding by hand and quickly realized I needed something with lots more power then just my little hands. I switched over to my electric DeWalt Hand Sander. Each step still required at sanding least 5 times. I also used a paint scrapper in all the corners where the sander couldn’t reach to remove the paint….one step at a time. There was lots of dust, so be sure to wear a mask and eye protection. I had my shop vac on hand and ready to go in-between sanding.
If I were to do it all over again, I think I would even tape off the top and bottom of the stairs with a plastic drop cover. My kids have really bad allergies so I was a pretty big nut job while sanding, but I would still find a layer of dust on my leather couch or coffee table when I was done. Ugh…so keep cleaning!! Just Keep Swimming… Just Keep Swimming!!! It will all be worth it in the END. 
After all the sanding is done, it was time for the fun part…Staining!! I chose to stain my steps gray to match the flooring on the top floor and in the living room. Getting that color was a little tricky. I had a contractor come in and tell me how hard and impossible it would be to match because I had Pergo flooring which means they design the floor color and lines which on natural wood would never look the same. Ha…challenge accepted…Never ever tell me I can’t do something! 😉

I started mixing all sort of colors to see how I could get the right shade of gray. That contractor was completely right, I couldn’t get the color with one simple stain. I actually had to layer many different shades and colors of gray, black, brown and even white wash to get the right color I wanted. 10 layers to be exact!! So crazy but, in the end they were exactly what I wanted. Before I started staining, I also applied a wood conditioner on each stair tread. 
Here’s a great of example of each layer and the progress that each layer of stain added to each step. After every layer of stain, each step got a little closer to the end result. 
During this time, I did every other step so that the steps were still somewhat useable. After all I still had 3 little kids and 1 very large kid who were going up and down the stairs constantly. I even color coded them at one point with post it notes because it started to get difficult to tell which steps had just been stained. This was a great workout for everyone involved. Going up was way easier the going down!! Your welcome everyone, who came to visit during this time as well.

These pictures still crack me up…All the crazy things I put my poor family through to get my house the way I want it. I’m sure I will be getting a therapy bill in years to come! 😉
After the staining was completely done. I sealed each step with Polycrylic in Clear Matte. I did 4 layers. That might have been a little excessive, but steps get a ton of traffic and the amount of work I put in to get them that color I wasn’t letting anything ruin them.
Next on to painting the risers. Each riser had tons of stain on it, so I had to prime them first, I used Zinsser Cover Stain Primer. It is oil-based and really did the job. After the risers were primed and dry, I painted 2 coats of Benjamin Moore Chantilly Lace in Pearl finish to completely finish them. 
I made sure to tape off each step carefully! Remember make sure your steps are completely dry before adding tape to them. You don’t want to rip off all your handiwork. I waited over two weeks before I started to paint the risers, one because I need a break and so did everyones leg muscles, and two there was no way I was going to rip up that stain. FrogTape is my favorite painters tape, I seem to get a much better straight line using it. There were a few spots that the paint had bled through. I used a small paint brush and brushed over the area with my darkest stain. BOOM…Steps finished!! Whew, Can you see why I never finished the banister? I was exhausted. LOL! 
That banister has been calling me ever since I finished the stairs. I was actually inspired the other day on Instagram by another DIY blogger on how to finally finish this project…Gel Stain!!
DIY Gel Stain Tutorial
Gel stain is by far the easiest and quickest way to get a wood finish look without all the painful work in the process.
Supplies:
- Gel Stain (MinWax)
- Foam Brush
- Sand Paper
- Polycrylic (Clear Matte)
- Painters Tape (Frogtape)
Step 1: Lightly sand your area that you are staining. 
Step 2: Using your painters tape, tape off the area you don’t want to get stained. Cover any floors or space as well, Gel Stain does not come off easily!! 
Step 3: Mix up your Gel Stain thoroughly, using your foam brush apply your gel stain with thin coats. Make long brush strokes. Get all your creases around your taped off areas. Allow to dry, recommended time and then add another layer if needed. 
Step 4: After your Gel Stain is all dry you can seal it with a coat of Polycrylic. I choose Clear Matte for my project. I didn’t want it to have a sheen. 

That’s IT!! So Easy & Simple!

About The Author
Jessie
Related Posts

Jeffrey Court All-Star Challenge Reveal
Did you blink? That’s how fast the Jeffrey Court All-Star Challenge went by…
July 8, 2020
Week 5 ~ Let’s Get Tiling
Okay…so I’m having flashbacks of my last Jeffrey Court Challenge! Just like last…
July 1, 2020