
DIY Leather Pulls with Cricut
This post is in partnership with Cricut, a company I love. All opinions here are my own. Thank you for supporting the brands that help support this blog.
I have been working on remodeling Saylor’s bedroom for awhile now. This room might be small, but it sure is going to mighty. While working in a small room, it is so important to not waste any amount of space. Every space is equally important and needs to be super organized. So, I am labeling anything and everything I can with my Cricut Maker. Wait till you see what I have created in the empty space inside her lofted bed…AHHHhhhh…it’s so good!
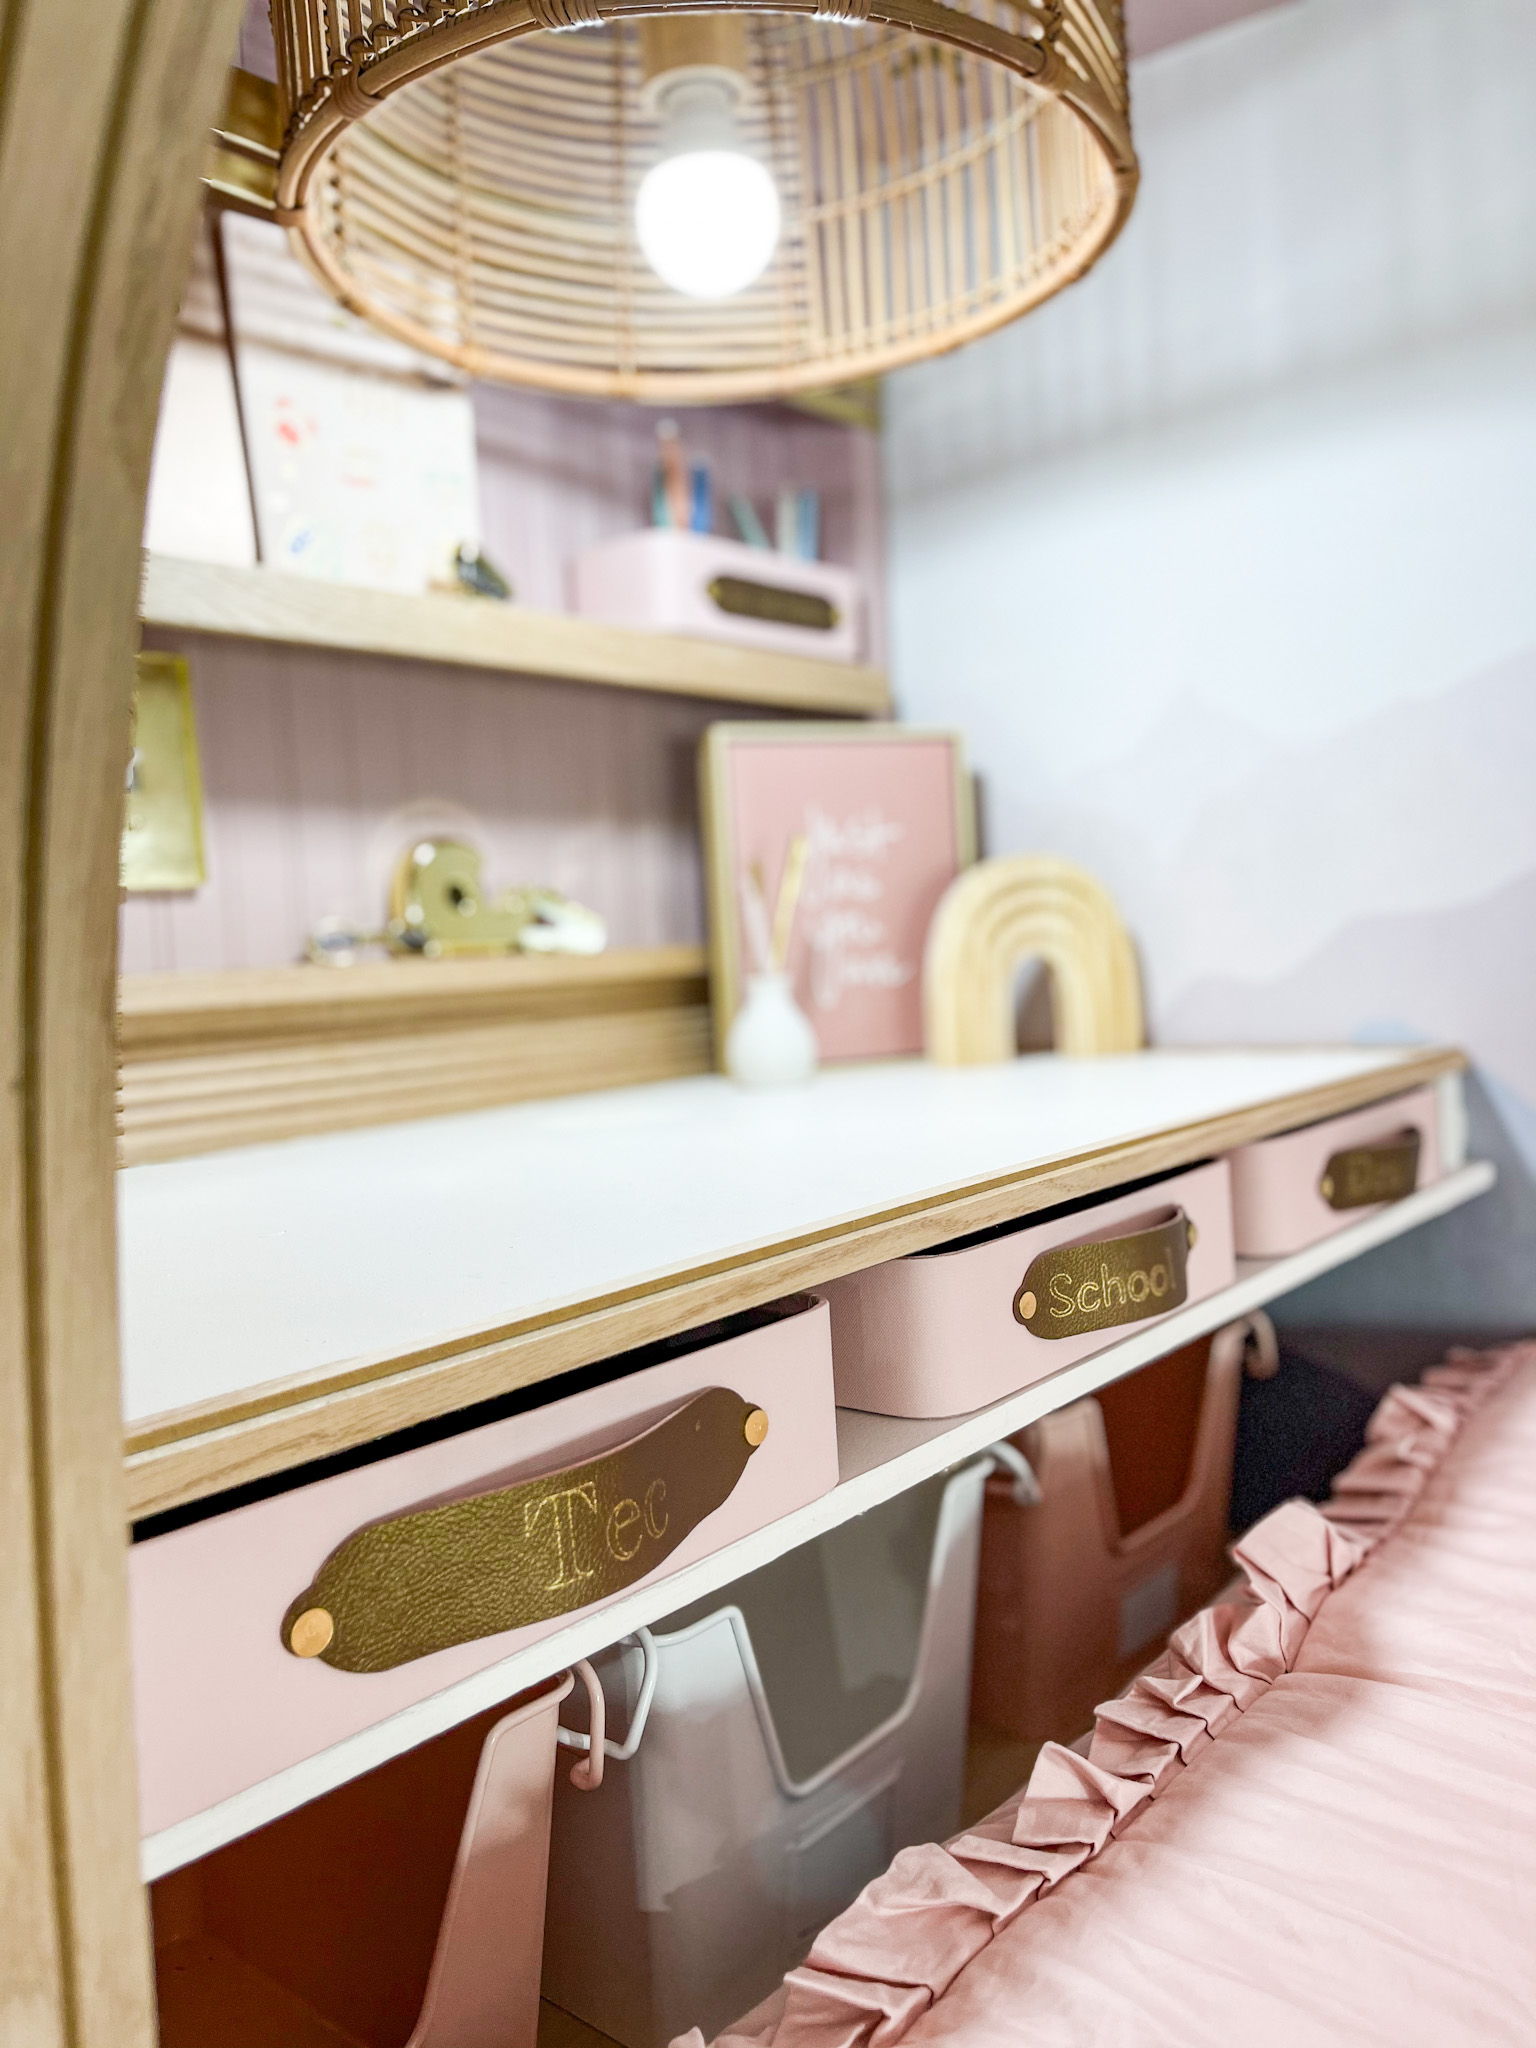
In this bedroom, the thing that takes up the most space is the lofted bed. So, to really get the most use of it, I have created a desk nook space on the top of the bed, along with storage shelving underneath to store and organize all of her stuff. To keep everything tidy and organized, I have created tons of custom spots for everything. But, of course being organized also has to look nice, so I decided to make custom leather labels/pulls with my Cricut Maker.
Here is a little tutorial, so you can make your very own.
DIY Leather Pulls with Cricut
Supplies:
- Cricut Maker
- Cricut Faux Leather
- Foil Transfer Kit
- Foil Transfer Sheets
- Jewelry Pins
- Rapid Fuse Glue
For starters, I looked for a pre-made template and searched tags. I found this one, it was exactly what I was looking for. I have a monthly subscription with Cricut Design Space, so this was free. If you don’t have the membership, it would be $.99.

Once I had my tags picked out, the hardest part was figuring out what exactly I wanted to label all of my baskets and storage. I also needed to decide how I wanted to cut the tags. I had a few options that I was debating between and I ended up trying them all out to see what would show up best on the faux leather. I’m including an image below. I tried debossing, engraving, cutting and foil transfer. I really loved the debossing but, it was hard to see from a distance.

In the end I went with the Foil Transfer. You know I can’t turn down anything GOLD! 😉 For each one of these labels, I made one label with text and one label blank. Then, I could glue them together to make them thicker.
After I chose my font and my text, I went to create my design. Here’s a little tip, just in case you need it. When I hit make my design, it gets split into several mats and I need the text on top of the leather tags.

All you need to do is it hit your text and tap on the three dots. You next hit Move object. It will give you an option where to move your text. Select the mat with the tags. Then position your text where you would like it on the tags. Now, you are ready to hit MAKE IT.
For the Foil Transfer you need to add the foil sheet over top of the leather. First, I put my leather onto my Strong Grip mat. Then, add the Foil sheet and tape around all the edges. Your computer will also direct you to add your Foil Transfer Tip into Clamp B.

After the Cricut is done with the foil transfer it will stop and direct you to remove the gold foiling and add your fine point tip to Clamp B.

The Fine Point Tip will next cut all of your tags.

Once all of your tags are cut, remove them from the mat. Like I said before, I glued two tags back-to-back to make them thicker for the pulls. I used Rapid Fuse by Dap and let it set in for 30 mins. I actually clamped the tags in-between two boards for the 30 mins, so they would be really stuck together.

Once my tags were all dry it was time to add them to my baskets and bins. I used gold Jewelry Pins to attach them. This was so easy and held them into place perfectly.

These pins went right through the bins for the desk, as well. For the desk bins, I made them a pull instead of just a label. So, I added a little space in-between the bin and the leather label.

For the baskets, I made them tight against the fabric.

That’s IT! So easy and makes such an impact. Love how they all turned out!
Here’s how her desk nook space turned out.


Here is the storage underneath her bed.


Make sure to keep following along on and be sure to check out my IG Instagram @eyeinthedetail highlight bubbles for all the behind the scenes details on the project. For more Cricut Tutorials click here.

Jessie

About The Author
Jessie
Related Posts

Flooring Transformation with Novocore Flooring
This post is in partnership with Novocore Flooring, a brand & company I love. All opinions…
May 22, 2022
Creating with Sugru
This post is sponsored with thanks to Sugru, but all thoughts and opinions like always…
December 2, 2020