
DIY Flooring Upgrade: Installing Luxury Vinyl Plank Floors with The Home Depot
Ekkkkk…don’t look now! Just kidding, don’t stop looking because I am partnering with The Home Depot to bring you an incredible transformation…Are you ready for it?
Who’s ready to see the impact new floors can bring to a space? I know I am! When The Home Depot reached out about doing a floor campaign with them, I was beyond excited! I debated between two options. Do we do an easy one room transformation or do we go BIG and redo ALL the floors. Umm…if you don’t know by now, you definitely should. I will always choose to go BIG. So, guess what…I am redoing all the floors in my house by MYSELF!

So, let’s do this!!
Okay, so the floor options at The Home Depot were seriously endless. Choosing a floor is no easy task and can be so overwhelming! Here’s how I narrowed my choices down. Since I am DIY-ing this floor myself I really wanted something with an easy install. Their LifeProof Luxury Vinyl Plank (LVP) flooring was such a great option. First, it can be installed over most existing floors. Yasssssss! It has a Drop-and-Lock installation system, if you haven’t done floors before this it is seriously so easy. It’s basically a snap and click. Also, it has a pre-attached underlayment. That is literally one less huge step. With three kids, a dog and one really big kid aka my hubby, I needed them to be water proof and scratch proof, as well.
Color and pattern choices are also endless. I currently had two different types and color flooring. This is by far one of my least favorite things in my house. The transition between the two floors always seemed to make my house uncohesive. It literally looked like two different homes from side to side.

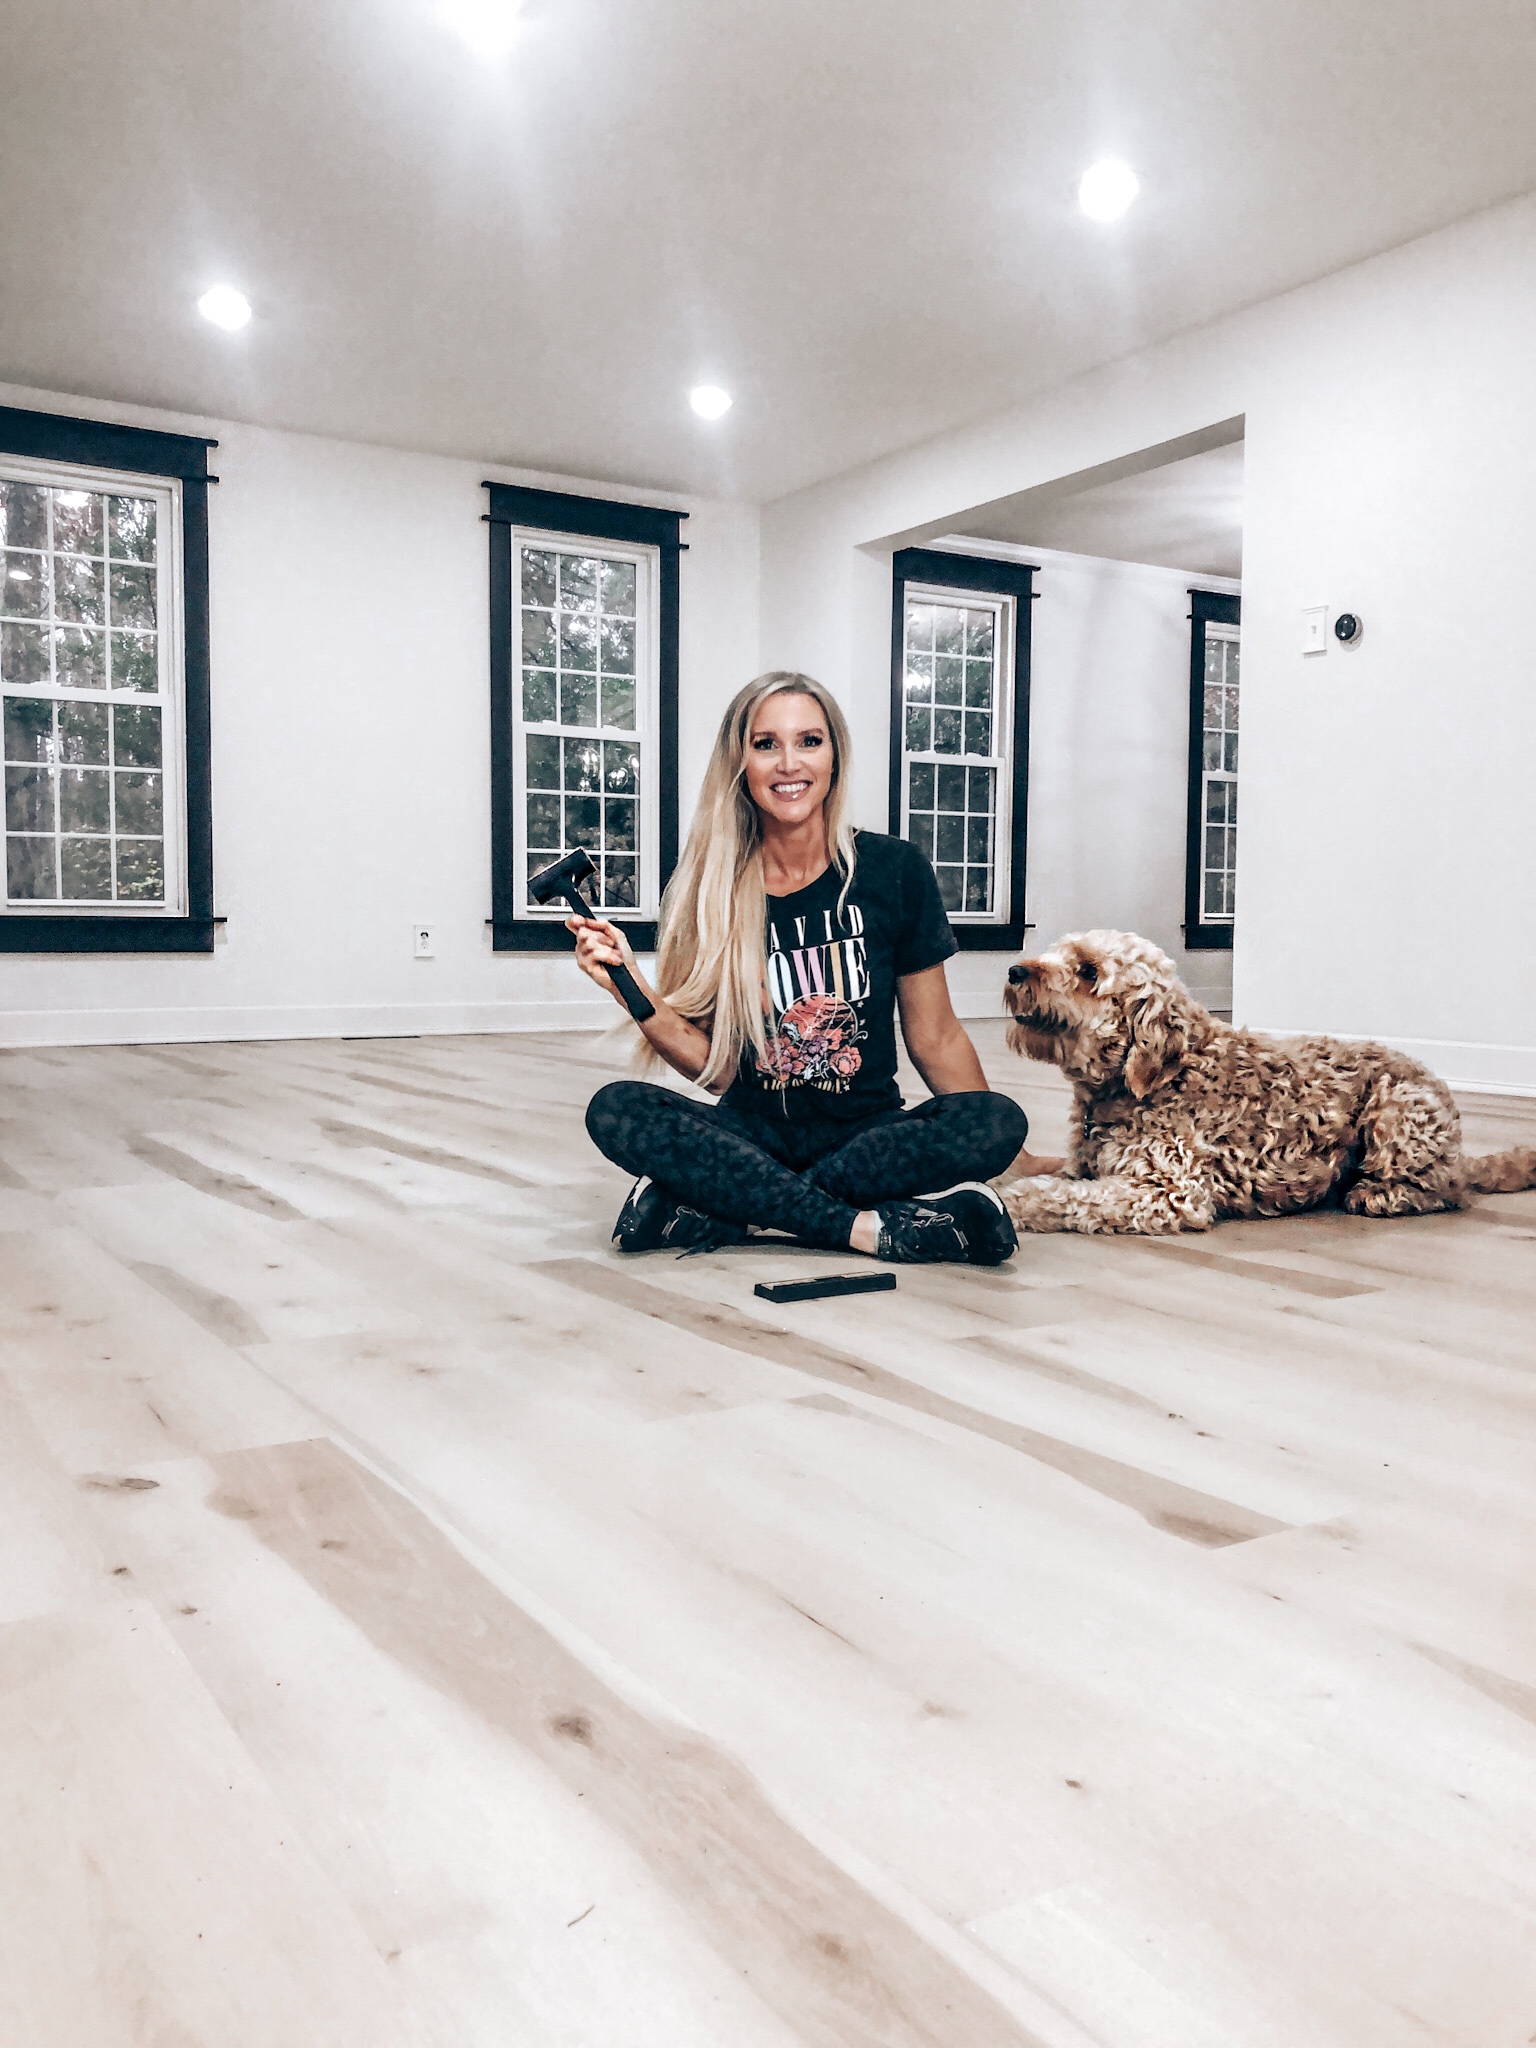
After having both those colors in my house, I knew I wanted something lighter to really brighten up the space. Also, something more modern with wider boards. In the end I decided on the LifeProof Luxurious Pine Wood. This is a big choice, so I suggest you buy samples, maybe even buy a box and lay it out. Everything always looks different in your own space. Lighting, wall color…all the things in your home can change the look of something.

Don’t be afraid to move them around in different places of your home to get a really good idea of what it will look like.

Here’s what you need to get started. Technically, all you really need is a utility knife, tape measure, speed square and an install kit with a pull bar, tapping block and spacers. This isn’t my first rodeo…so here’s a few more things that make your life a little easier. Get some knee pads ASAP…lol! A jigsaw is also great for the tough cuts.

A table saw definitely makes nice, clean, and straight cuts for your first and last boards.

For this install, I also went with the big guns and got a 13 in. Multi-Floor Cutter. Kinda the best purchase I’ve made in a long time. This was a serious game changer. I heard so many mixed reviews about this. Everyone said it didn’t do clean cuts and wouldn’t cut through the rubber underlayment. So, let me set the record straight real quick! This cut so clean, was so easy to use, went right through every single board and had absolutely no dust at ALL! IF you are adding a ton of floors, this was worth the investment.
You want your first boards to start at the far left corner. It’s best to start on your longest wall. I laid all mine out first as a dry fit, mixing the boards and pattern. Once I had a few rows the way I wanted, I started with the first row. The groove should always be out away from the wall. I actually started in the wrong direction to start. The boards were hard and tight to get in. Each one was a struggle. If you are struggling with the boards, you are most likely doing something wrong. Take a step back and think about what you could possibly be doing wrong. It only took me a few boards and I knew I wasn’t doing something correct. They should go together so easily.

I started with three rows of one board at different lengths. Longest to shortest to get started and worked my way down with the first row. Once I had two or three rows, I stacked a bunch of boxes on top of them to keep them from moving. This is a floating floor and you want everything to stay straight. This is the hardest part in the beginning because you don’t have enough weight to hold the boards into place. Once I was into the third row it’s normally smooth sailing and you really get into a rhythm. You want to make sure the boards are a minimum of 8 inches staggered as you go. When I finished one row I would use the remaining leftover piece to start my next row.

To make sure you get a real pro-look, make sure to cut under all your door jams and molding. I did this with a dovetail saw and a multi-tool. I flipped one of the floor boards upside down and against the trim and used my dovetail saw to get a nice clean cut line. Then I used my multi-tool to get all the way through. You can obviously use your saw for this, but my poor hands just got so tired!

Once all the floors were installed I added new baseboards for a fresh clean finish. You know I also had to paint all the walls and add new window and door trim too. Hellllooooo…Go big…Lol!!


Actually, I was surprised at the impact the new floors had on my house. I knew they would look good, but it seriously looks like a completely different house. I have been trying so hard to achieve a specific style and look in my home for so long now. Not realizing that the floors were my answers to make that all happen. The space looks so bright, clean, modern and everything I have always dreamed about!


Such a big THANK YOU to my friends at The Home Depot for partnering with me for this project. I am beyond happy with my new floors!!! I am so excited to get this new space styled and rockin. So stay tuned, we aren’t done yet! Not sure we ever will be ;)…don’t tell my husband…I have some pretty big styling plans!!
For more videos and behind the scenes head over to my IG highlight reel. 😉

Jessie
Related Products:
This post contains affiliate links. As always, all opinions are our own. Shopping affiliated links helps support our small brand at no additional cost to you, we appreciate the love. For more information, please see our privacy policy. Thank you!


![]()


About The Author
Jessie
Related Posts

Flooring Transformation with Novocore Flooring
This post is in partnership with Novocore Flooring, a brand & company I love. All opinions…
May 22, 2022
Impact of Interior Doors
This post is in partnership with The Home Depot, a brand & company I love. All…
August 17, 20213 COMMENTS
Leave A Comment
Denise Kainrath | 23rd Dec 20
This floor redo is incredible! I will absolutely be doing a deep dive on their product line once I feel like I can realistically conquer this kind of project with a baby. My guy is 6 weeks old now, so hopefully sometime before he is 18 haha.
Denise
@deniseadelek
Amanda McWaters | 26th Dec 20
Love the floors, windows, and walls!!! This is the look that I have been wanting! Your Instagram showed video of the windows. Do you have a link or steps on how you did the windows and door trim?
Tim and Carole | 28th Dec 20
You’ve inspired us to go to Home Depot today. We will send pictures when completed.