
Jeffrey Court Renovation Challenge ~ Week 4 Accent Ceiling
If you don’t know this by now…then you haven’t been paying attention. I am obsessed with a good accent ceiling! Seriously, the ceiling is a great canvas that is usually overlooked, but when done well it’s a complete showstopper every time!! I mean come on…if you aren’t looking up you are missing out.
Okay…so I am going to go out of the box with this one. Prepare yourself…I am going to make a concrete ceiling or at least a faux concrete ceiling. This isn’t going to make complete sense until you see my final reveal, but I promise it’s going to be amazing! Or…if it doesn’t work out guess what? We are just going to shiplap right over the ceiling…Lol!
Let’s get started!! I am winging this project and hoping for the best…just like almost all of my projects. This idea just came to me so I am going to just go with it. Fingers crossed but, I have a good feeling about this one!
DIY Cement Ceiling
Supplies:
- FrogTape
- Joint Compound
- Paint – I used three Behr paint colors.
- Behr ~ Ultra Pure White *NO. 7450
- Behr ~ Broadway
- Behr ~ White Wash Oak
- Sponge
- Chalk-Paint brush
- Rag
- Block Brush

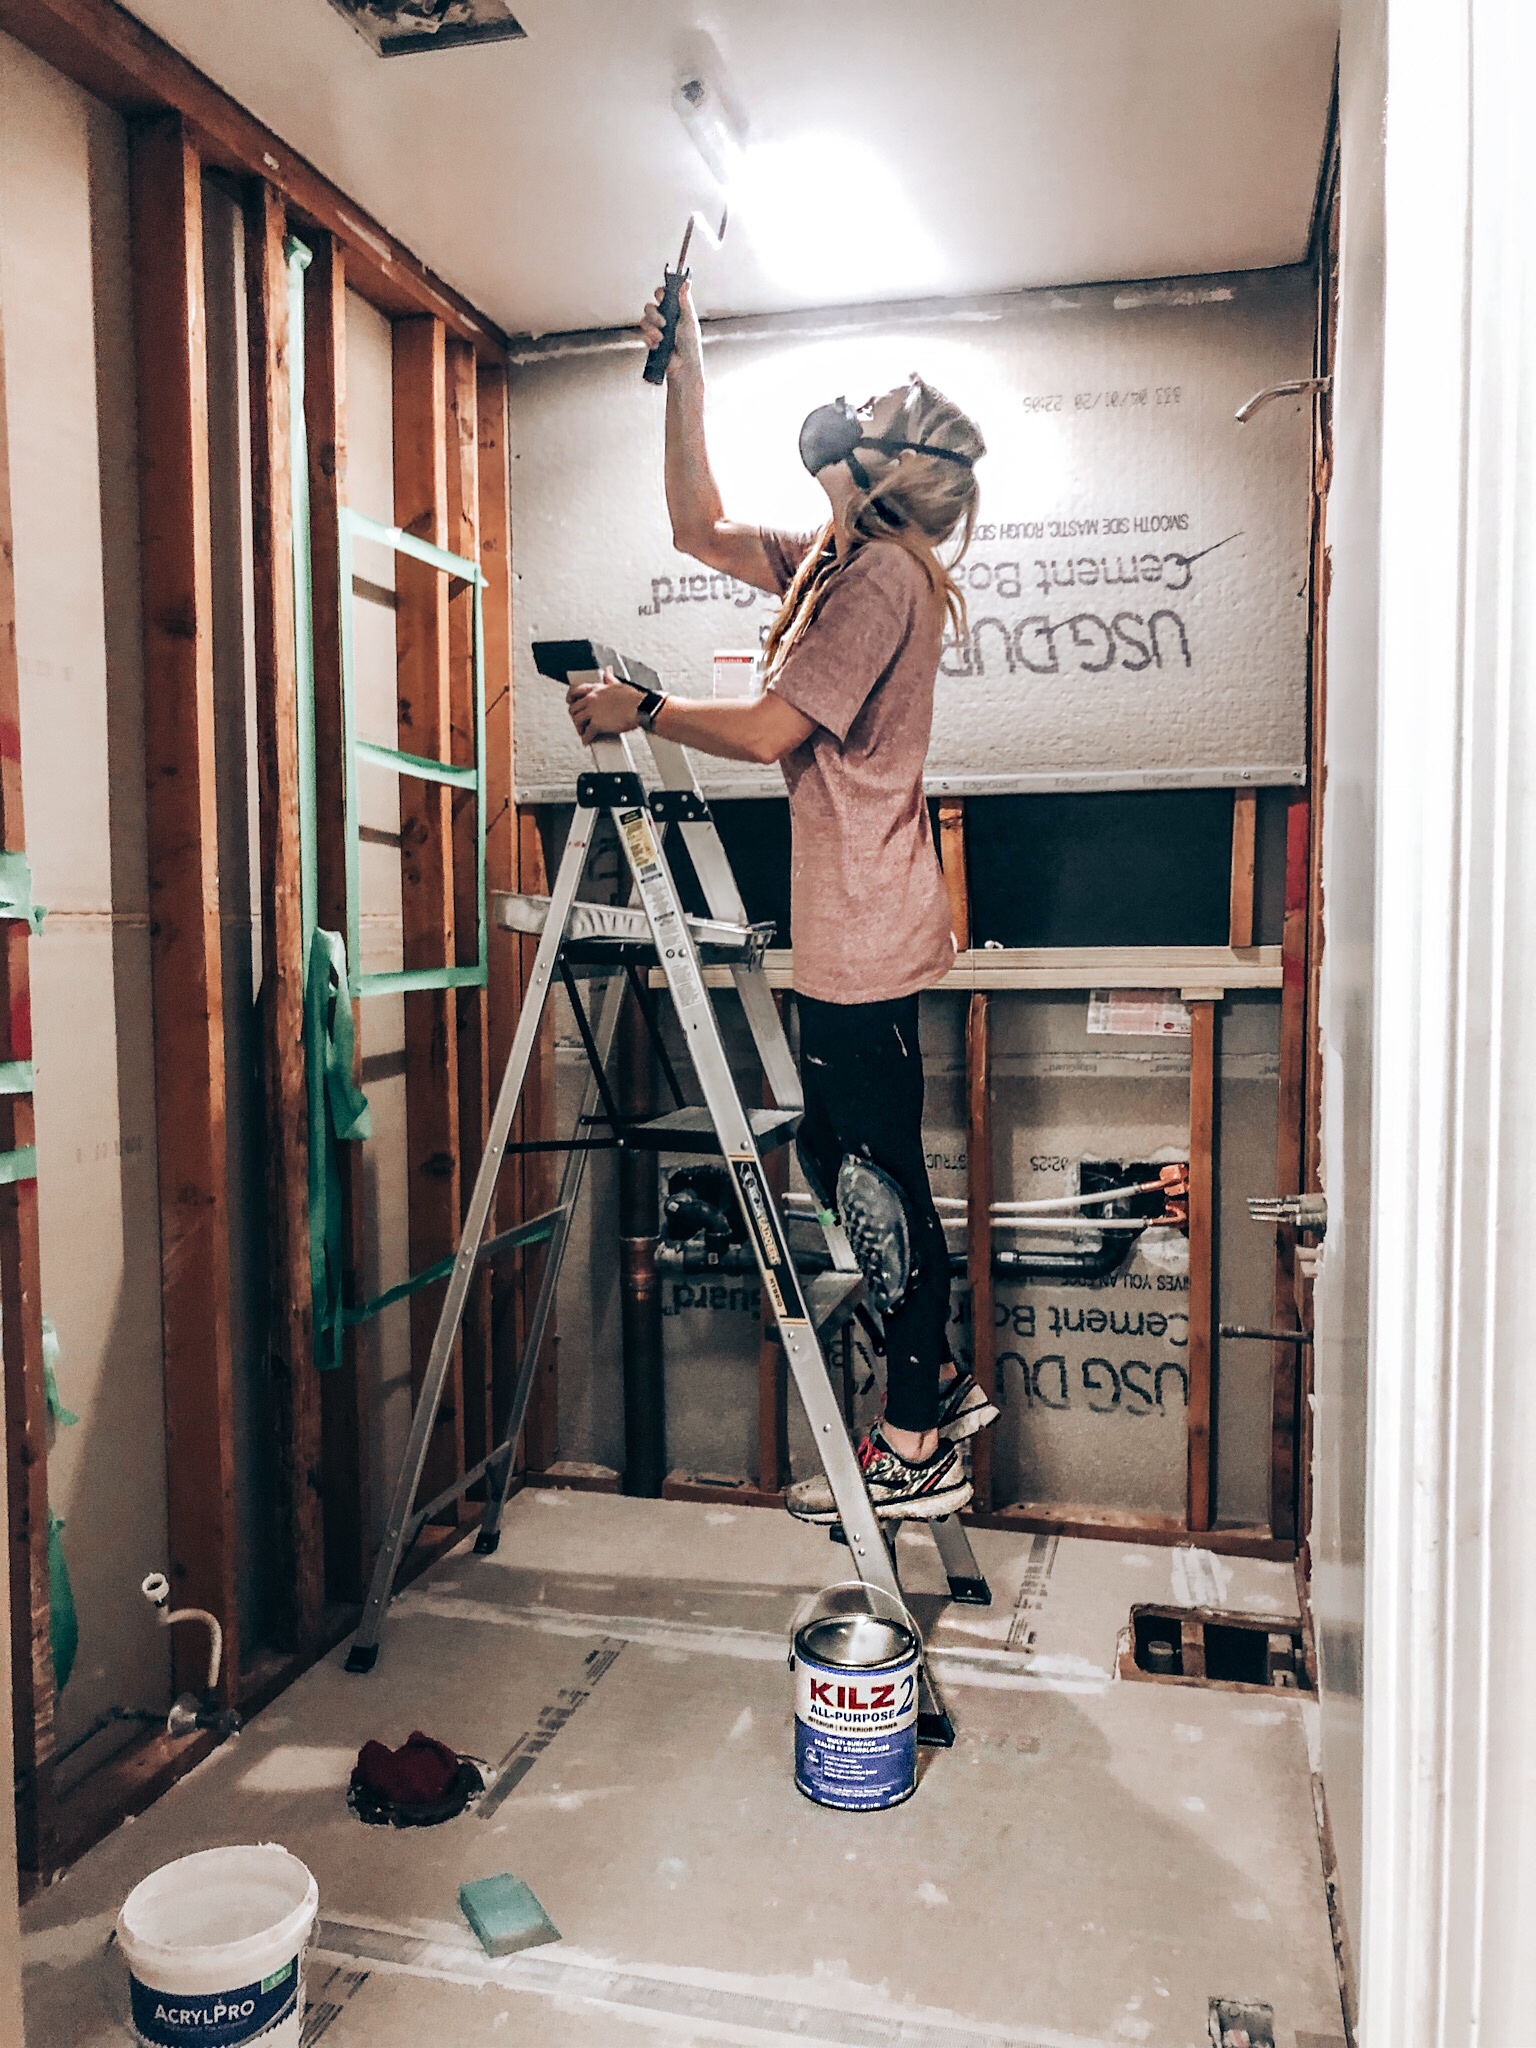
First up….I started by taping off all my walls with FrogTape. I am using joint compound for this project and getting that on the walls where the tile and paint will be going would be pretty hard to remove. So, I am protecting my space first with the tape. Next, I started by adding my Behr black paint ~ Broadway across the space. I used long uneven strokes going in the direction I wanted the space to flow. So, the length of the room. I painted these strokes randomly and just worked in about 4 foot sections. This is the method I used for the whole project.


Next, I added streaks of my joint compound. I put a good amount on my paint scrapper and worked it in by moving in the same direction of the room again. I didn’t make it completely smooth because it is on the ceiling and to really get the effect from above I felt like I needed more texture than I would want if it was on a wall. Otherwise, I was worried it would like just like gray paint.

I let this dry for about an hour and then I did one more layer of the joint compound but, this time added the gray paint to the compound mixture. I mixed it using a 1 to 4 ratio. 1-part paint, 3-parts joint compound.

Then, I ran this layer across the ceiling adding another element of texture. I’m not going to lie…when this part was finished I wasn’t quite sure I was going in the right direction.

Now that I had my texture I felt like it needed to be more of a smooth blended finish. So, next up I took the white and gray paint and mixed them together but, not blended. I made X mark patterns with my chalk paint brush using the gray in sections and then used my sponge and paint brush to add white and black paint slightly blending the paint.

Using the same method and working in sections this way helped keep the paint from getting dry and was easier to blend. I wanted it to be more of a cloudy cement look. We are definitely getting closer to the look I imagined.


This was pretty darn close to what I was thinking originally! I decided to do one coat across to blend it out a little smoother. This time I used the white paint along with water and my chalk paint brush. I painted strokes and swirls of white paint and then wet my chalk paint brush. I swirled the paint brush in a circular motion to create a smoother cloudy look. This was the final result!

Boom! Accent ceiling done!! Keep following along to see how this ceiling fits in with the rest of my design. Next up…let’s get some tiling done. This is a tile competition after all! ;)Did you see the amazing tile I choose this time around? If you missed it be sure to head over to week one’s blog post.
Be sure to check out the other great designers participating in the Jeffrey Court All Star Challenge and remember you can vote for your favorite designer!! I don’t think I need to remind you who that is! LOL!

Jessie


About The Author
Jessie
Related Posts

Flooring Transformation with Novocore Flooring
This post is in partnership with Novocore Flooring, a brand & company I love. All opinions…
May 22, 2022
Impact of Interior Doors
This post is in partnership with The Home Depot, a brand & company I love. All…
August 17, 2021