
DIY Fun T-Shirts – The Bachelor Edition
It is that time again…my guilty pleasure TV show is back…The Bachelor. I really can’t explain why it is so awesome, it just is!! So many women and so much drama is just so entertaining. In Germany, Jessie and I had many afternoons watching The Bachelor and the Bachelorette and my personal favorite Bachelor in Paradise in her bed eating junk food, shhh, Don’t tell Greg…he also has a secret, well not so much anymore 😉 love of watching the bachelor. I am sure he will love me announcing it, I guess we will see if he reads this!!
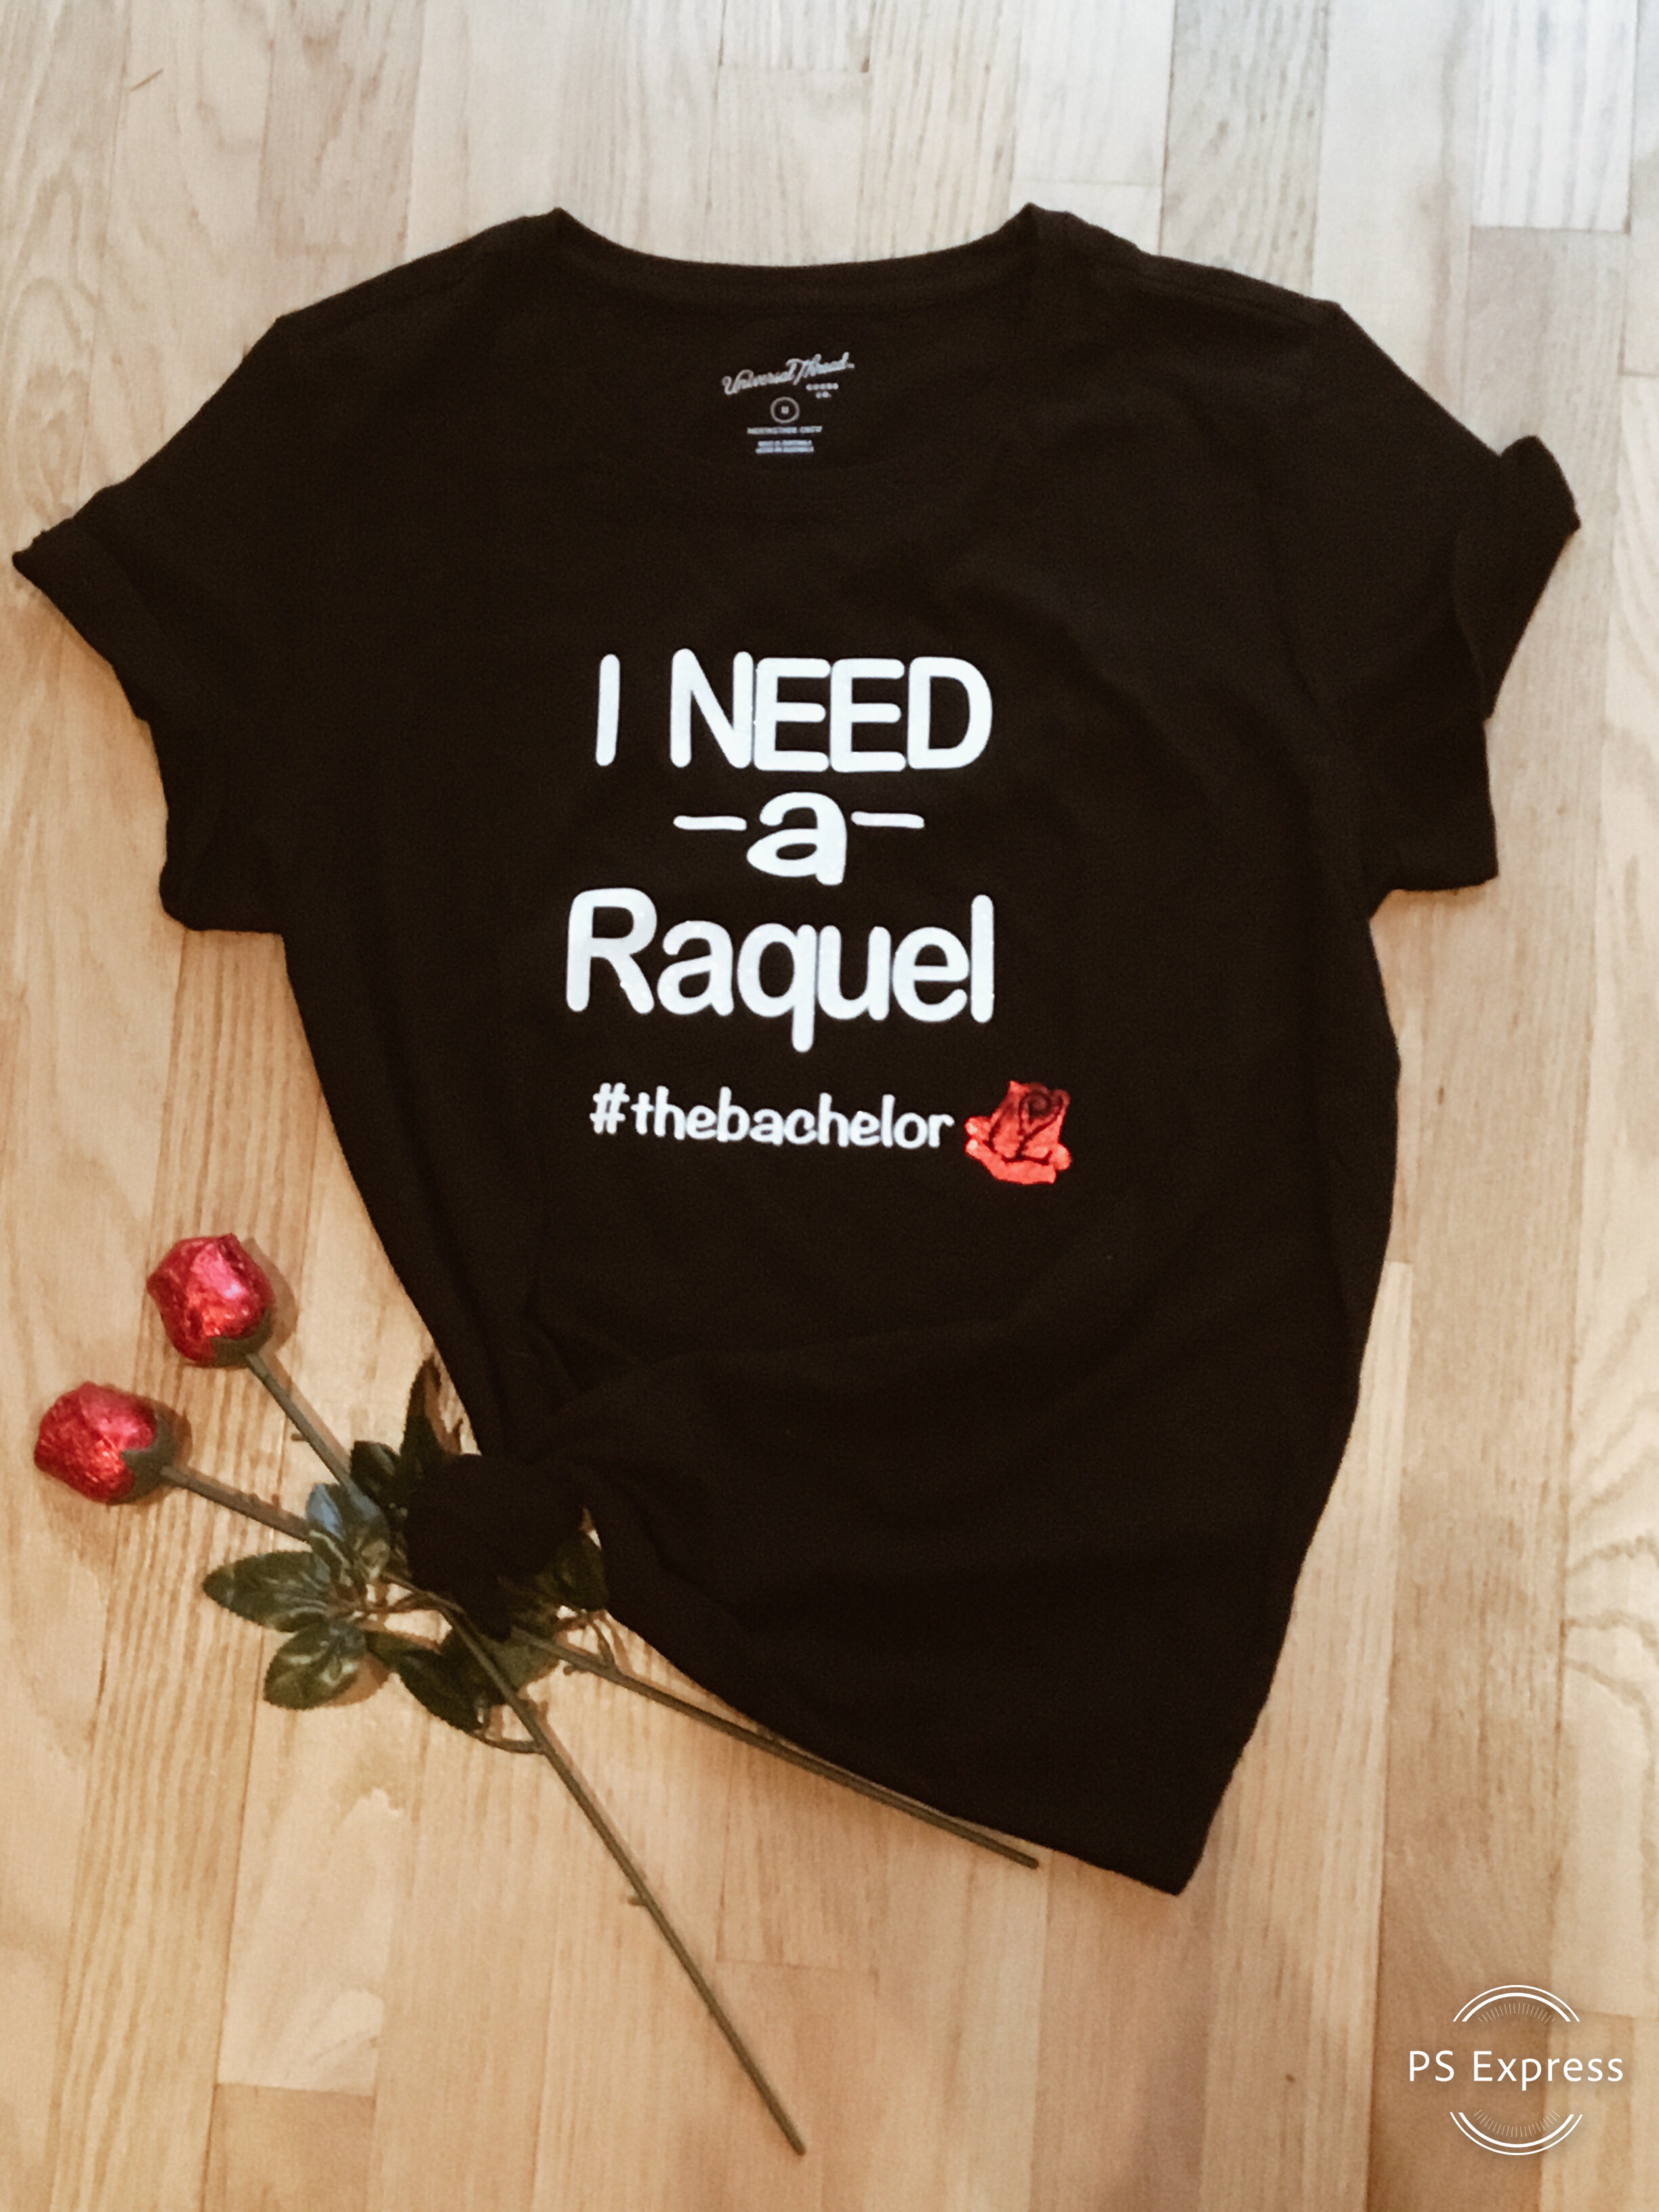
This year I thought what better way to start off the Bachelor season then with a viewing get-together with my friend and her daughters. I arrived armed with themed t-shirts and chocolate roses to make the night even more fun…add in lots of snacks and treats and we were ready to pick out our favorite limo arrivals of the season. I have my pick for the winner, how about you???
DIY Fun T-shirts with the Cricut
Supplies:
- Cricut Machine (mine is a Cricut Explore Air)
- Cricut Easy Press (not necessary, can use an iron as well)
- Iron-on material (I use cricut brand but there are others out there)
- Cricut Mat
- T-shirts
- I-Pad or Computer (to run Cricut Design Space)
- Scissors

Step 1: Start off by designing your t-shirts in the Cricut App on the iPad or Computer. You can use cricut downloaded fonts or characters and there are lots of project ideas with instructions included in the app. I usually just buy my images through the app or use the free ones, but you can download images off the internet onto your computer and import them into the app as well. There are also lots of people who sell downloads on etsy or through Pinterest. For this project I used text already in my cricut design space and added a rose from cricut app.
Step 2: Once the design is done, press the green button that says Make It. That will  take you to another screen where the mats will be laid out. When working with iron-on be sure to Mirror the Image (there is a slide button). Also, with iron-on place the shiny side down on the mat so the cut will be on the back side not on the clear top.
Step 3: Now to cut the iron-on. For the t-shirts, I had to cut 3 different colors (I did not use the green stem on the bottom), so I loaded the mat and cut the first one and so forth. Once all 3 were finished, I cut around iron-on cuts the cricut made with scissors. Then weeded the negative space around what I was designing. Leaving my  design on the clear plastic.
Step 4: Next, put the t-shirts on an ironing board or cricut press pad and line up your design to make sure everything fits right. Then remove it and warm the area on the pillow with the cricut press or an iron for 5-10 seconds. Place your design on the warmed area and place the press/iron on top and press the button for 30 seconds. Hold the press with light pressure. 
Different materials require different temperatures so just double check that information before you use the cricut press. I check on the cricut website to make sure I am using the correct temperature. If using an iron the processes is similar it just takes a little longer to cover all the area. My t-shirts had layers so I did this step 2 times with each layer. Next flip the pillow over and put the press/iron over the back for another 15 seconds or so. Peel off the plastic cover and double check all the edges are secure.
Enjoy your fun t-shirt and The Bachelor!!!

About The Author
Jen
Related Posts

Flooring Transformation with Novocore Flooring
This post is in partnership with Novocore Flooring, a brand & company I love. All opinions…
May 22, 2022
DIY Leather Pulls with Cricut
This post is in partnership with Cricut, a company I love. All opinions here are…
June 18, 2021