
DIY Unicorn Valentine Card
Well, it is that time of year again ♥ Valentine’s Day ♥. It always creeps up on me and I am running to the store at the last minute looking for those little cards to send into the classroom and all that is left is organic healthy snacks or fun dip. So, I end up on Pinterest frantically trying to find something easy but cute to make. This year is a little bittersweet for me. It is my last classroom Valentine’s day party. My youngest will be in middle school next year and it is just not cool anymore to give cards, I guess. According to my daughter she will just have a real Valentine next year…Yikes!!!
Do you remember passing out Valentines as a kid? When I was in school they were just little cards and boy have they evolved. We used to just get a card with a heart and be excited, now goodies and treats are attached and I feel like every year I have to try and out craft myself from the last year to come up with some crazy, clever Valentine card. It is a lot of pressure!!
This year I asked my daughter what she would like, a little background she is VERY picky, and she gave me only one thought, unicorns. Oh and it couldn’t say anything embarrassing like, Be My Valentine. Got it!! Let’s be real, she only really cares about the candy attached. And it must be candy…I used pencils one year and she was not impressed!!!
I thought I would try out my cricut for the cards and use the marker tool. It is something I have never really tried since I am not normally a card maker so I started playing around in Cricut Design Space. There is so much you can do in that program…I haven’t even scratched the surface. I ended up designing my own little card using shapes and text and all I had to purchase was the eyelashes. If you have a cricut and use design space it allows you to share your projects. Here is the finished card for you to use. One note: it is for personal use only.
DIY Unicorn Valentine’s Card
Supplies
- Cricut Machine (mine is a Cricut Explore Air)
- Cricut Mat
- Cardstock (I used White)
- Markers for Cricut machine (I used 2 black)
- Embellishments (felt heart stickers, candy)
- I-Pad or Computer (to run Cricut Design Space)
- Markers or colored pencils (to decorate card)
Step 1: Start off by designing your cards in the Cricut App on the iPad or Computer. You can use cricut downloaded fonts or characters and there are lots of project ideas with instructions included in the app. I usually just buy my images through the app or use the free ones, but you can download images off the internet onto your computer and import them into the app as well. There are also lots of people who sell downloads on etsy or through Pinterest.
For this project I used text and shapes already in my cricut design space and added eyelashes purchased from cricut app.
 The designing of the card took the longest and will depend on what you are trying to make. If you just want to make the same one I did, use my already made design in the cricut app here. If you what to make your own it wasn’t too difficult. I used shapes and welded them together, then to add the text I attached it to the welded background shape. It sounds a lot more complicated than it was. A lot of it was trial and error. The good part is this project is using paper which is so much cheaper than the vinyl and iron on material.
Step 2: Cutting and drawing on the card. Select the Make It button in cricut Design Space and that will take you to the next screen where you select your paper type, which in my case was cardstock. Load the paper on the mat and press go. The machine does the drawing first and then cuts the card. For this card, I did have to change out the pen once, but the machine tells you when it is time.

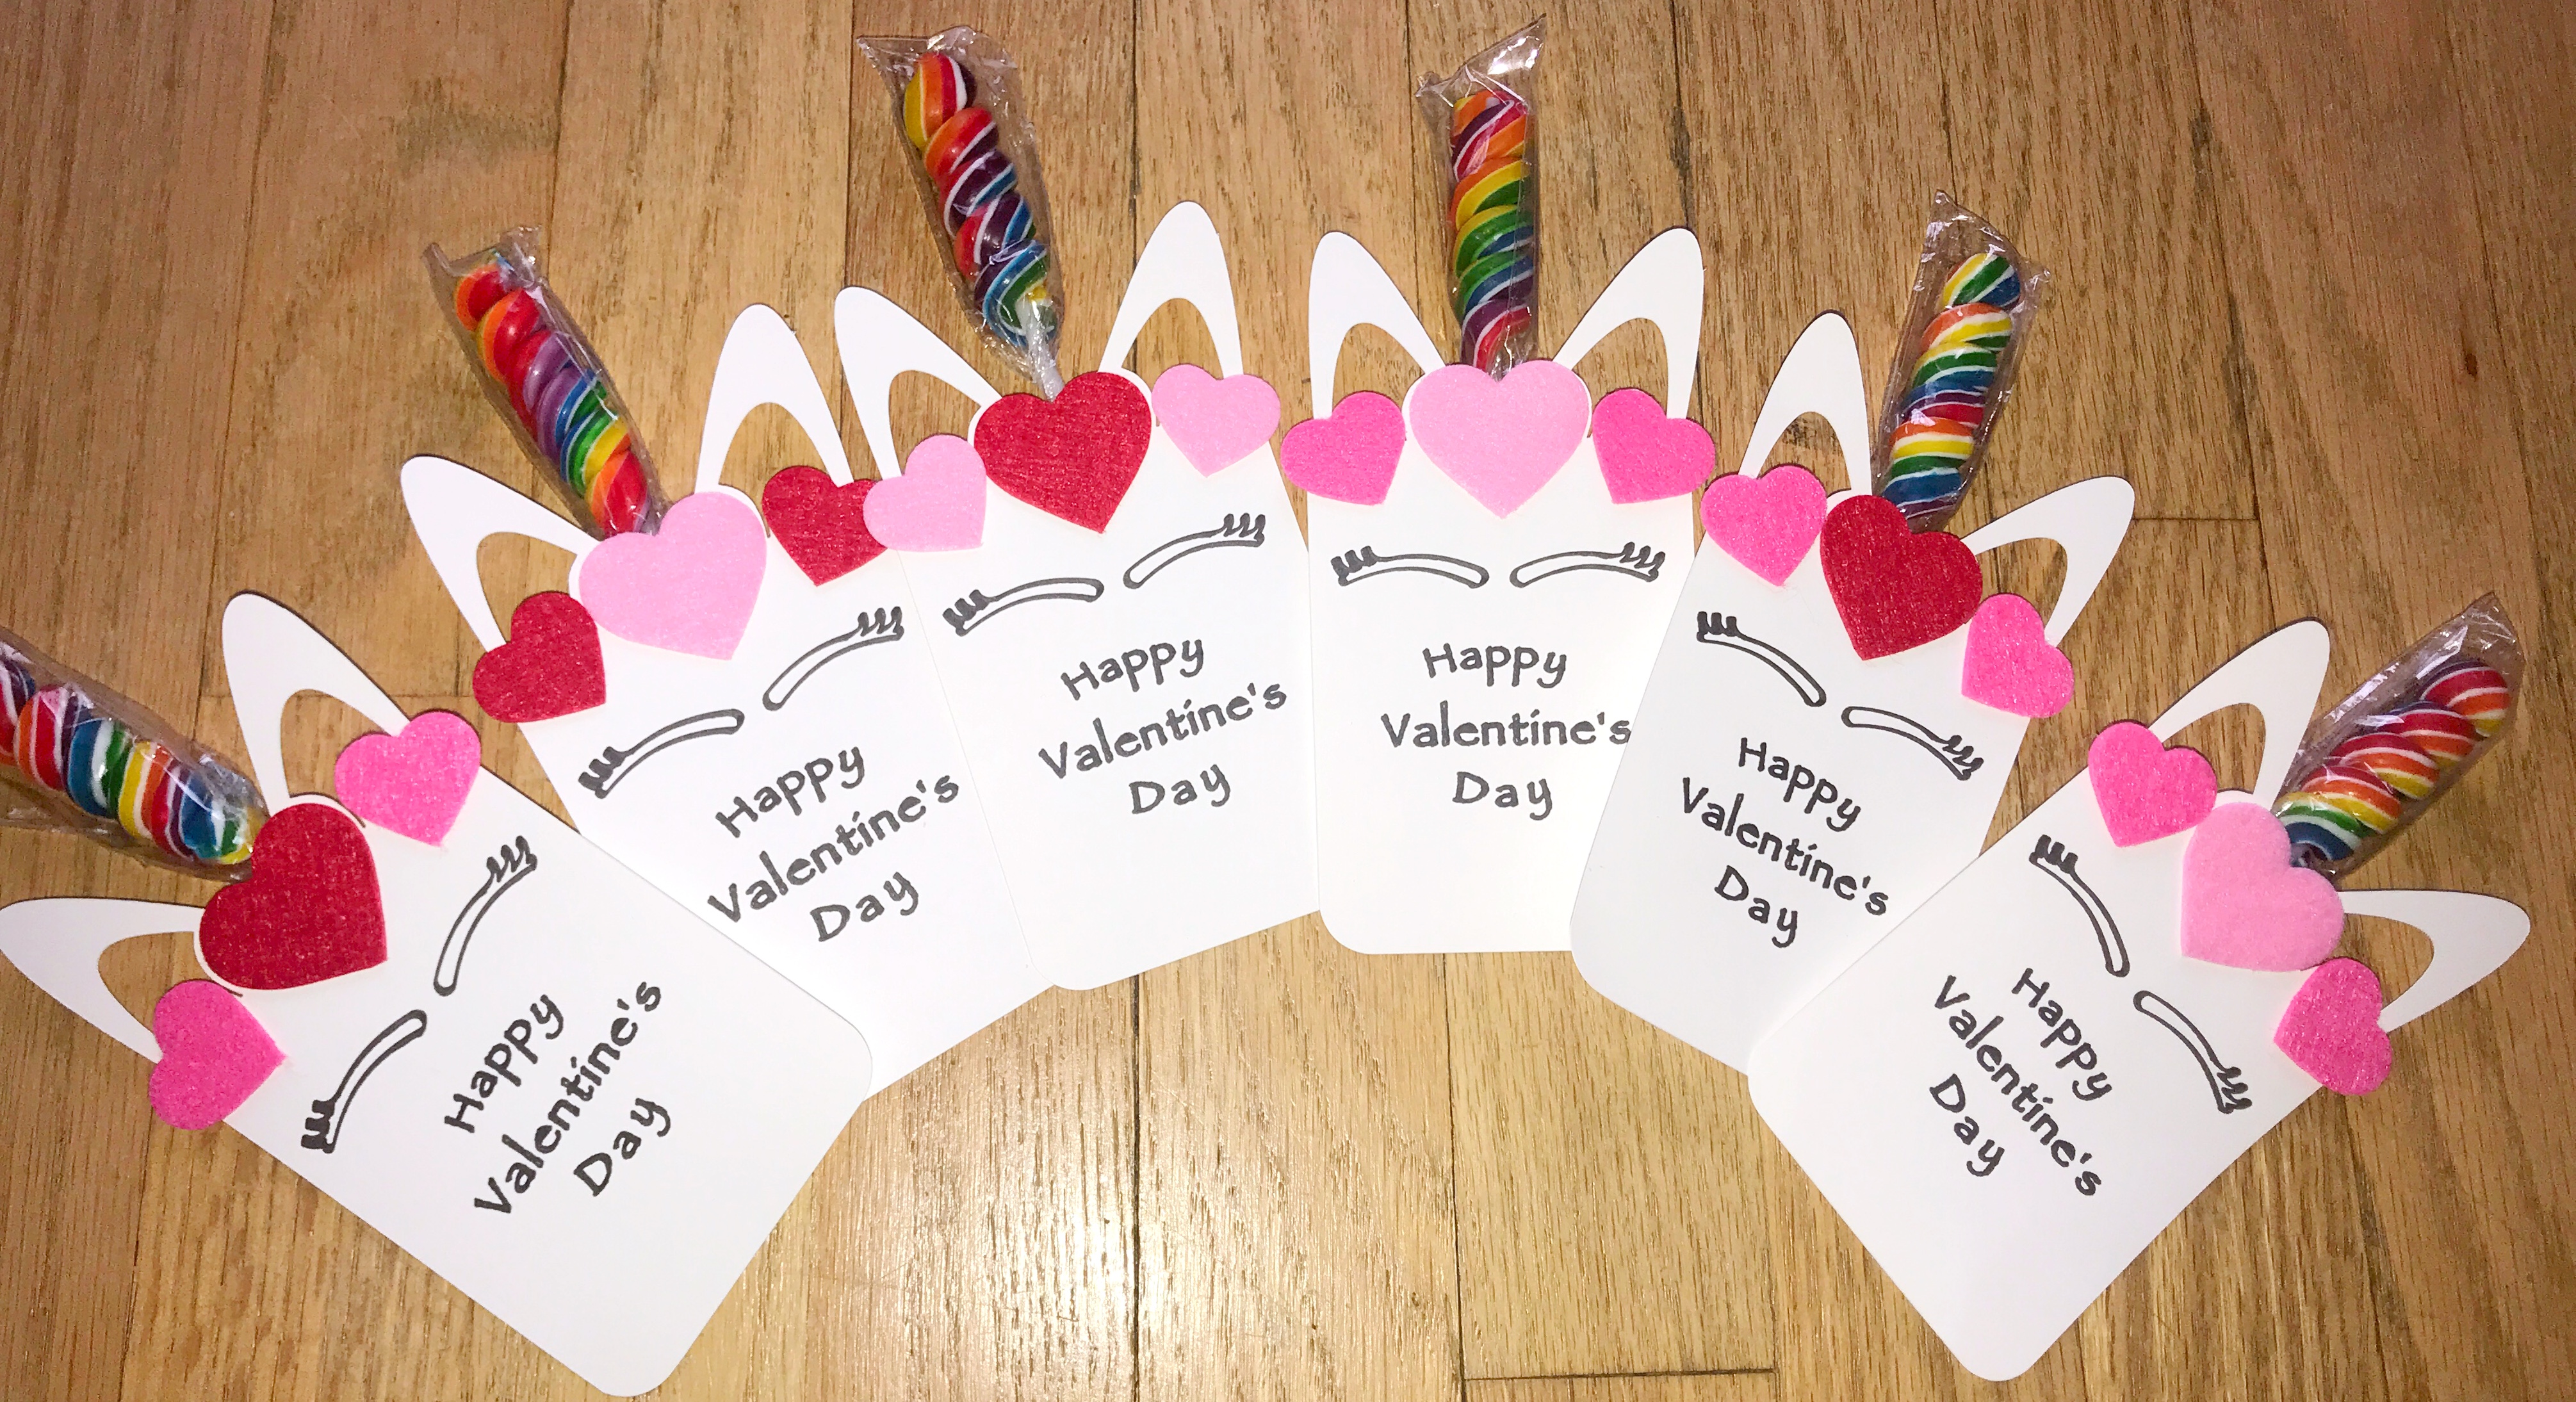
 Step 3: Add the embellishments to the card. I added felt hearts and a twirly lollipop to the card for the horn. My daughter may color the ears and of course add her friends name and her name. She also wanted her card to have rounded corners, remember the picky comment above, so I just used my corner rounder for that step.
All done…Fun, personalized, and creative Valentine’s Day cards.

♥ Happy Valentine’s Day to All ♥
About The Author
Jen
Related Posts

DIY Leather Pulls with Cricut
This post is in partnership with Cricut, a company I love. All opinions here are…
June 18, 2021
Creating with Sugru
This post is sponsored with thanks to Sugru, but all thoughts and opinions like always…
December 2, 2020